Rice Krispie Treats
Rice Krispie Treats
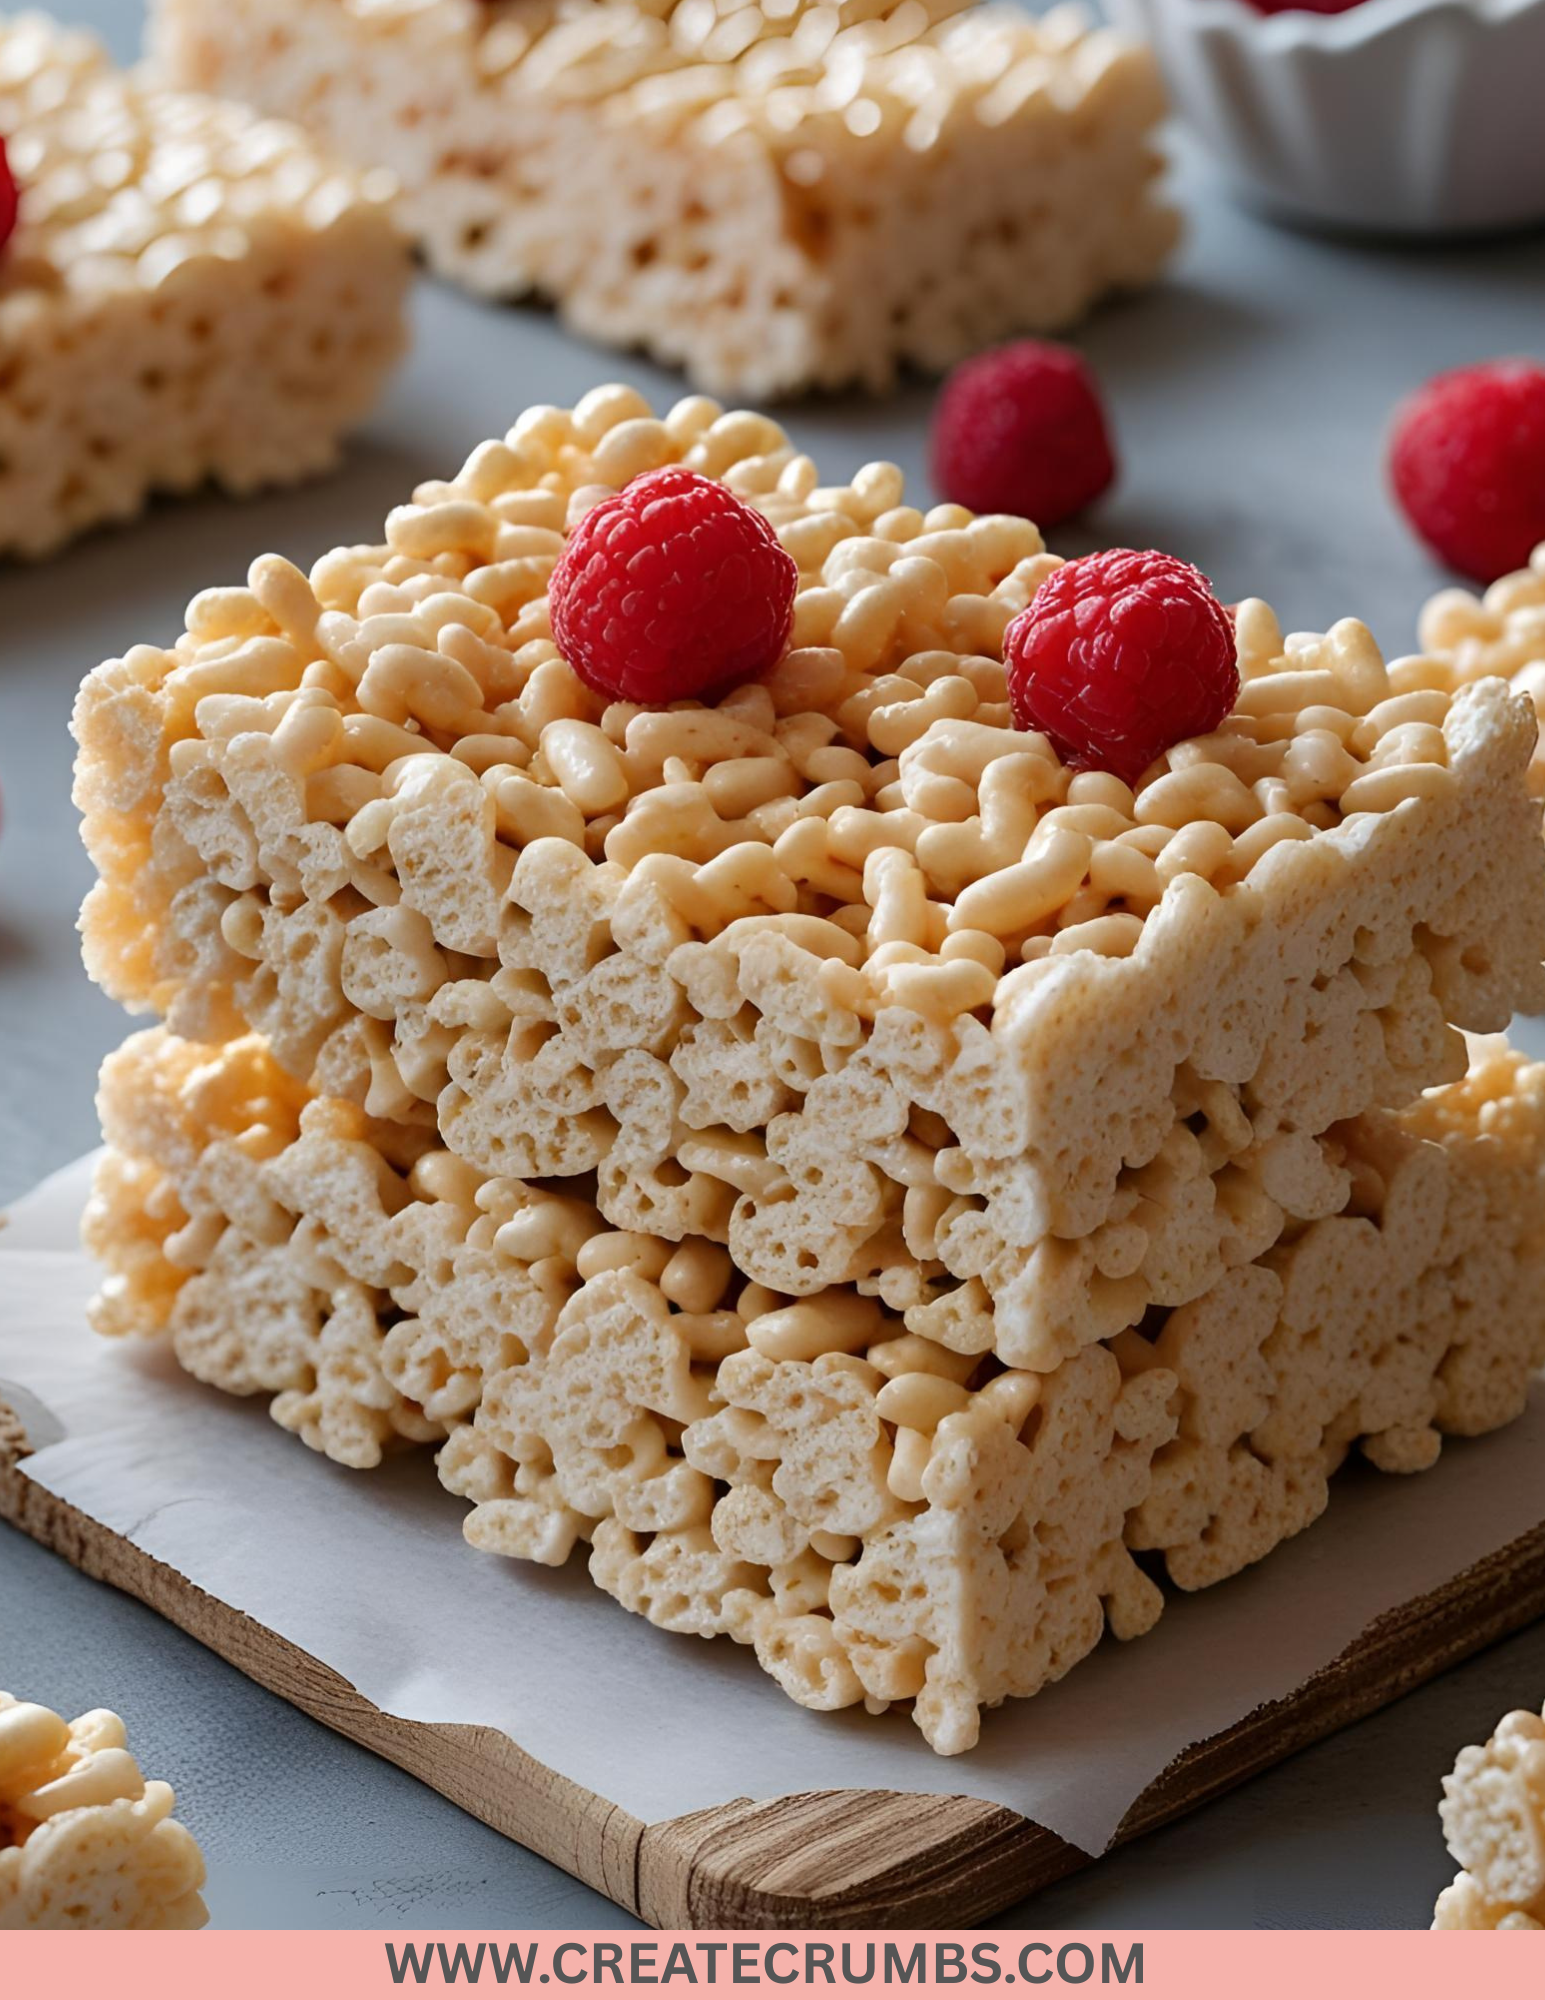
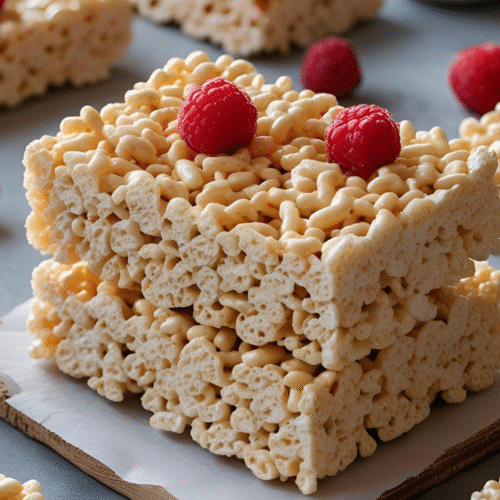
Soft, chewy, and perfectly sweet, Rice Krispie Treats are a nostalgic no-bake dessert made with crispy rice cereal, gooey marshmallows, and buttery goodness. A quick and easy treat that’s perfect for parties, lunchboxes, or an anytime snack.
Ingredients
-
6 cups Rice Krispies cereal
-
4 tbsp (1/2 stick) unsalted butter
-
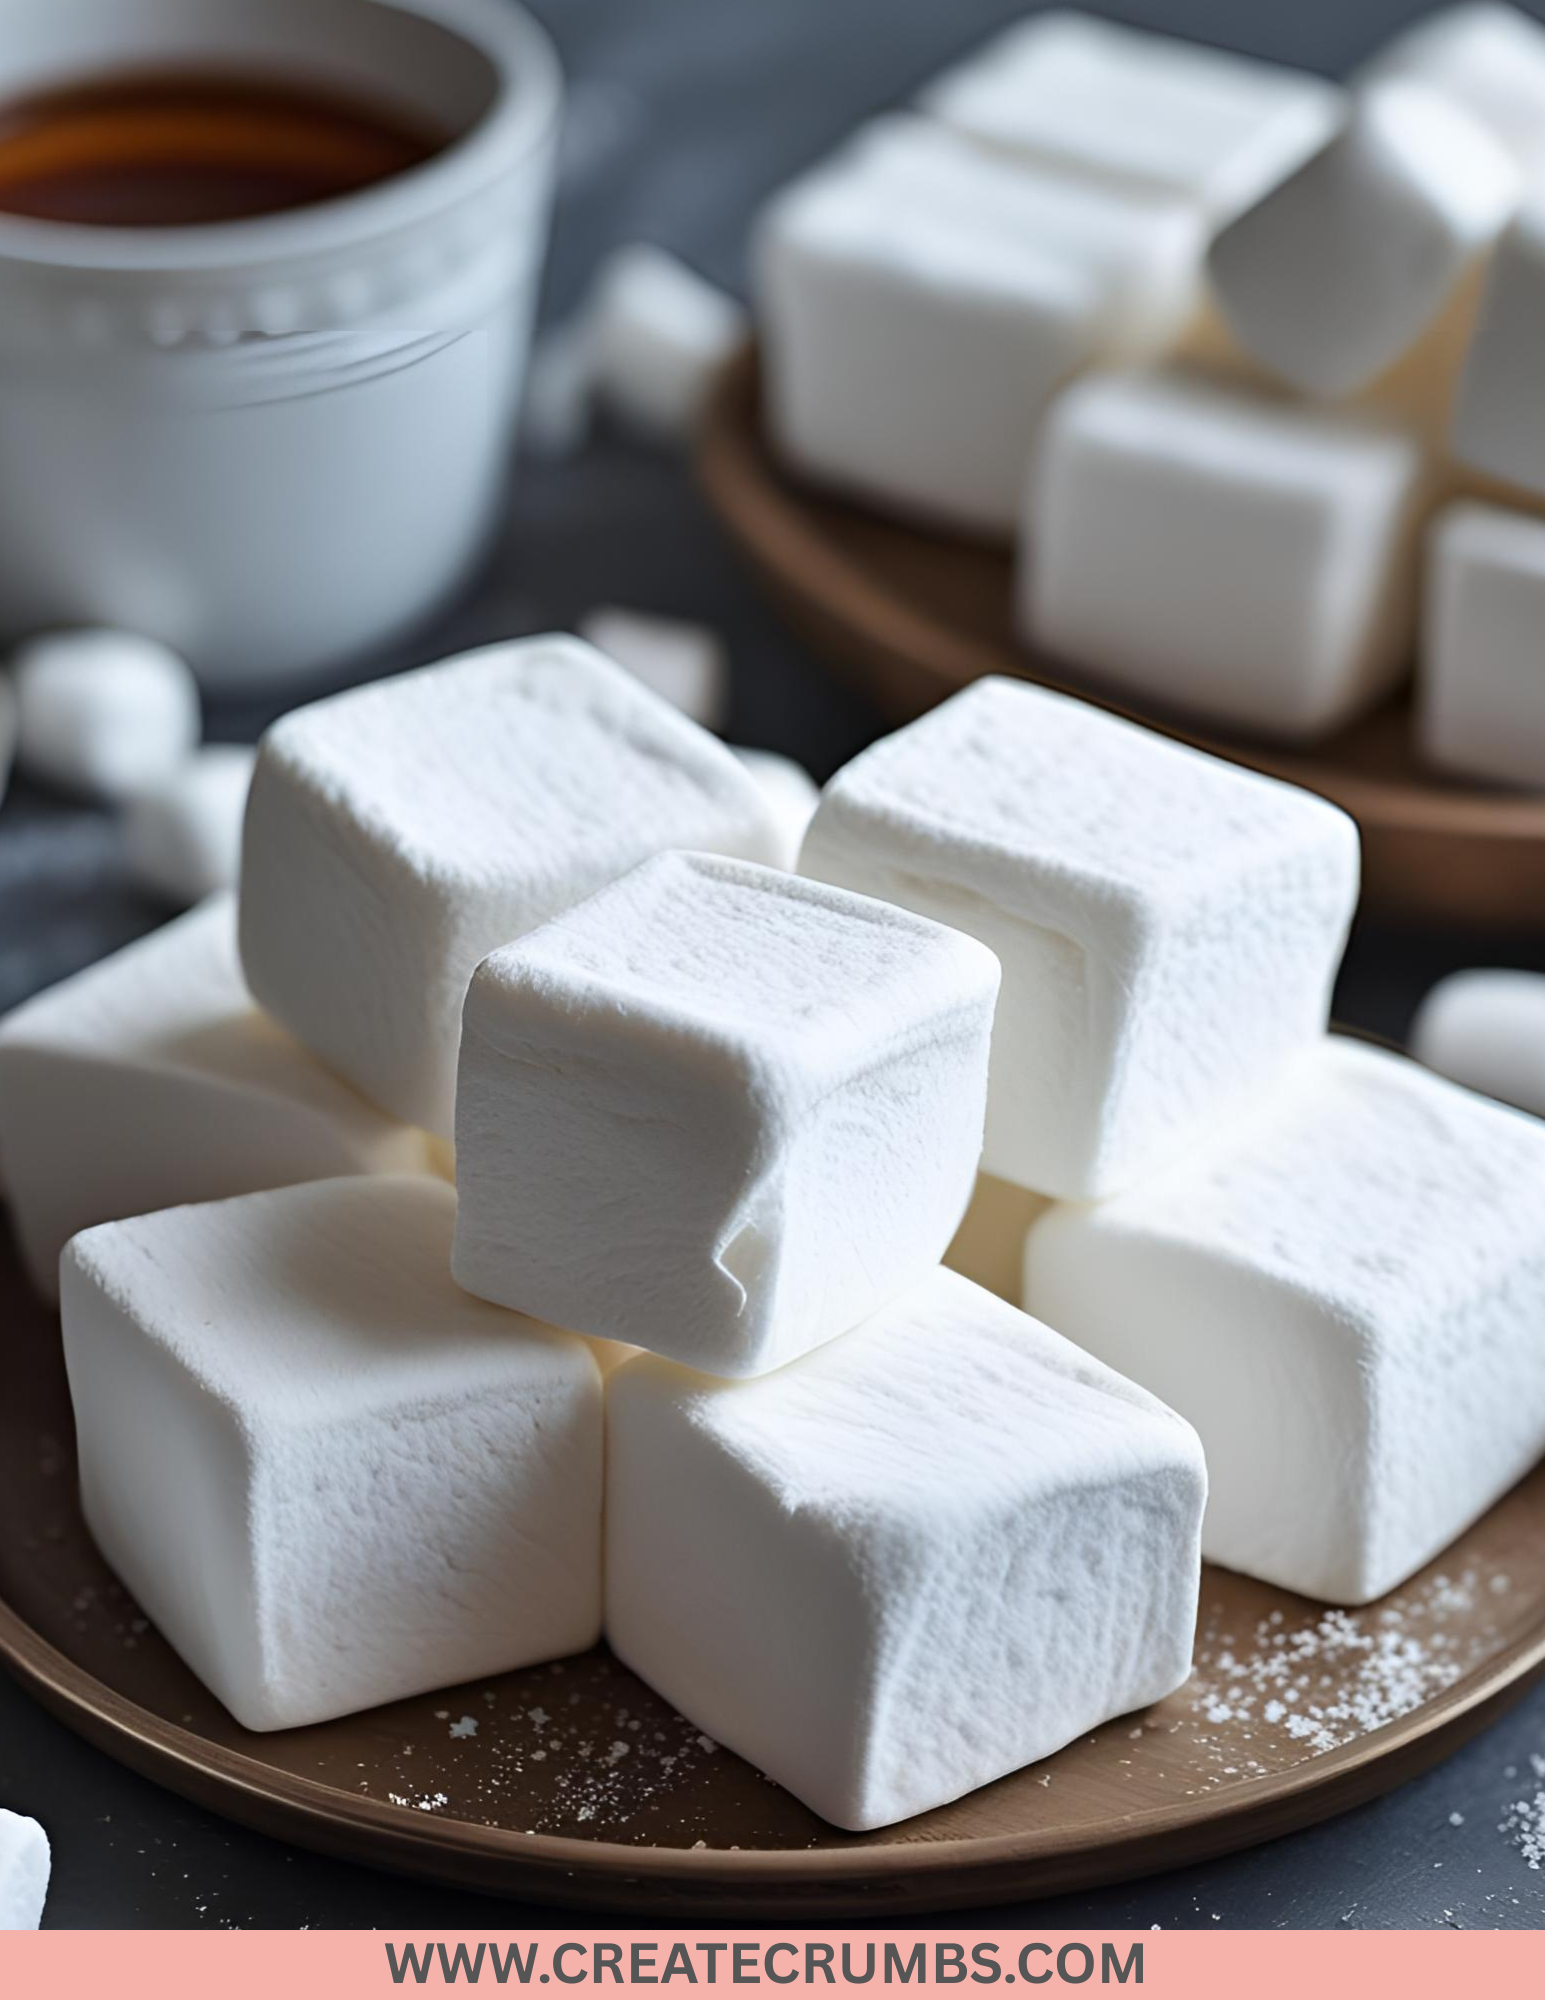
1 (10 oz) bag mini marshmallows (about 6 cups)
-
1/2 tsp vanilla extract (optional)
-
Pinch of salt (optional, for flavor balance)
Instructions
-
Prepare Pan:
-
Grease a 9×13-inch baking dish with butter or nonstick spray. You can also line it with parchment paper for easy removal.
-
-
Melt Butter:
-
In a large pot over low heat, melt the butter completely.
-
-
Add Marshmallows:
-
Add the marshmallows to the melted butter and stir constantly until fully melted and smooth.
-
-
Add Vanilla (Optional):
-
Stir in the vanilla extract and salt if using.
-
-
Mix in Cereal:
-
Remove the pot from heat and immediately stir in the Rice Krispies cereal until evenly coated.
-
-
Transfer & Press:
-
Quickly transfer the mixture to the prepared baking dish.
-
Use a buttered spatula or wax paper to gently press the mixture evenly into the pan (don’t press too hard or they’ll be dense).
-
-
Cool & Slice:
-
Let cool at room temperature for about 30 minutes before slicing into squares.
-
Equipment
-
Large pot
-
Wooden spoon or heatproof spatula
-
9×13-inch baking dish
-
Parchment paper (optional)
Timing
-
Prep Time: 10 minutes
-
Cook Time: 5 minutes
-
Total Time: 15 minutes
Serving Size
-
Makes about 12 squares
Rice Krispie Treats
Equipment
- Large pot
- Wooden spoon or heatproof spatula
- 9x13-inch baking dish
- Parchment paper (optional)
Ingredients
- 6 cups Rice Krispies cereal
- 4 tbsp 1/2 stick unsalted butter
- 1 10 oz bag mini marshmallows (about 6 cups)
- 1/2 tsp vanilla extract optional
- Pinch of salt optional, for flavor balance
Instructions
- Prepare Pan:
- Grease a 9×13-inch baking dish with butter or nonstick spray. You can also line it with parchment paper for easy removal.
- Melt Butter:
- In a large pot over low heat, melt the butter completely.
- Add Marshmallows:
- Add the marshmallows to the melted butter and stir constantly until fully melted and smooth.
- Add Vanilla (Optional):
- Stir in the vanilla extract and salt if using.
- Mix in Cereal:
- Remove the pot from heat and immediately stir in the Rice Krispies cereal until evenly coated.
- Transfer & Press:
- Quickly transfer the mixture to the prepared baking dish.
- Use a buttered spatula or wax paper to gently press the mixture evenly into the pan (don’t press too hard or they’ll be dense).
- Cool & Slice:
- Let cool at room temperature for about 30 minutes before slicing into squares.
Frequently Asked Questions (FAQs)
-
Can I use large marshmallows instead of mini?
Yes, but mini marshmallows melt faster and more evenly. If using large ones, cut them in half for quicker melting. -
Can I make these in the microwave?
Yes—melt butter and marshmallows in a large microwave-safe bowl in 30-second intervals, stirring between each. -
How do I keep them soft?
Avoid overcooking the marshmallow mixture and store them in an airtight container. -
Can I add mix-ins like chocolate chips?
Yes, but add them after the mixture has cooled slightly so they don’t melt completely. -
Can I use flavored marshmallows?
Absolutely flavored marshmallows will change the taste and add a twist to the classic recipe. -
Why are mine hard?
They may have been pressed too firmly into the pan or the marshmallow mixture was cooked too long. -
Can I make them dairy-free?
Yes, use dairy-free butter or coconut oil and check that your marshmallows are vegan-friendly. -
Can I double the recipe?
Yes—just use a larger pan or make in batches so they’re easy to mix. -
Can I color the marshmallow mixture?
Yes, add a few drops of food coloring after melting the marshmallows for themed treats. -
Do they freeze well?
Yes, but they’re best eaten fresh since freezing can change the texture slightly.
How To Store Rice Krispie Treats
-
Room Temperature:
Store in an airtight container at room temperature for up to 3 days. Place wax paper between layers to prevent sticking. -
Refrigerator:
Not recommended it can make them hard. If you must refrigerate, wrap them well to retain moisture. -
Freezer:
Wrap each square individually in plastic wrap, then place in a freezer bag. Store for up to 6 weeks.
Thaw at room temperature before eating. -
Extra Tip:
Adding a slice of bread to the container can help keep them soft longer (replace the bread daily).