Homemade Dairy Queen Ice Cream Cake
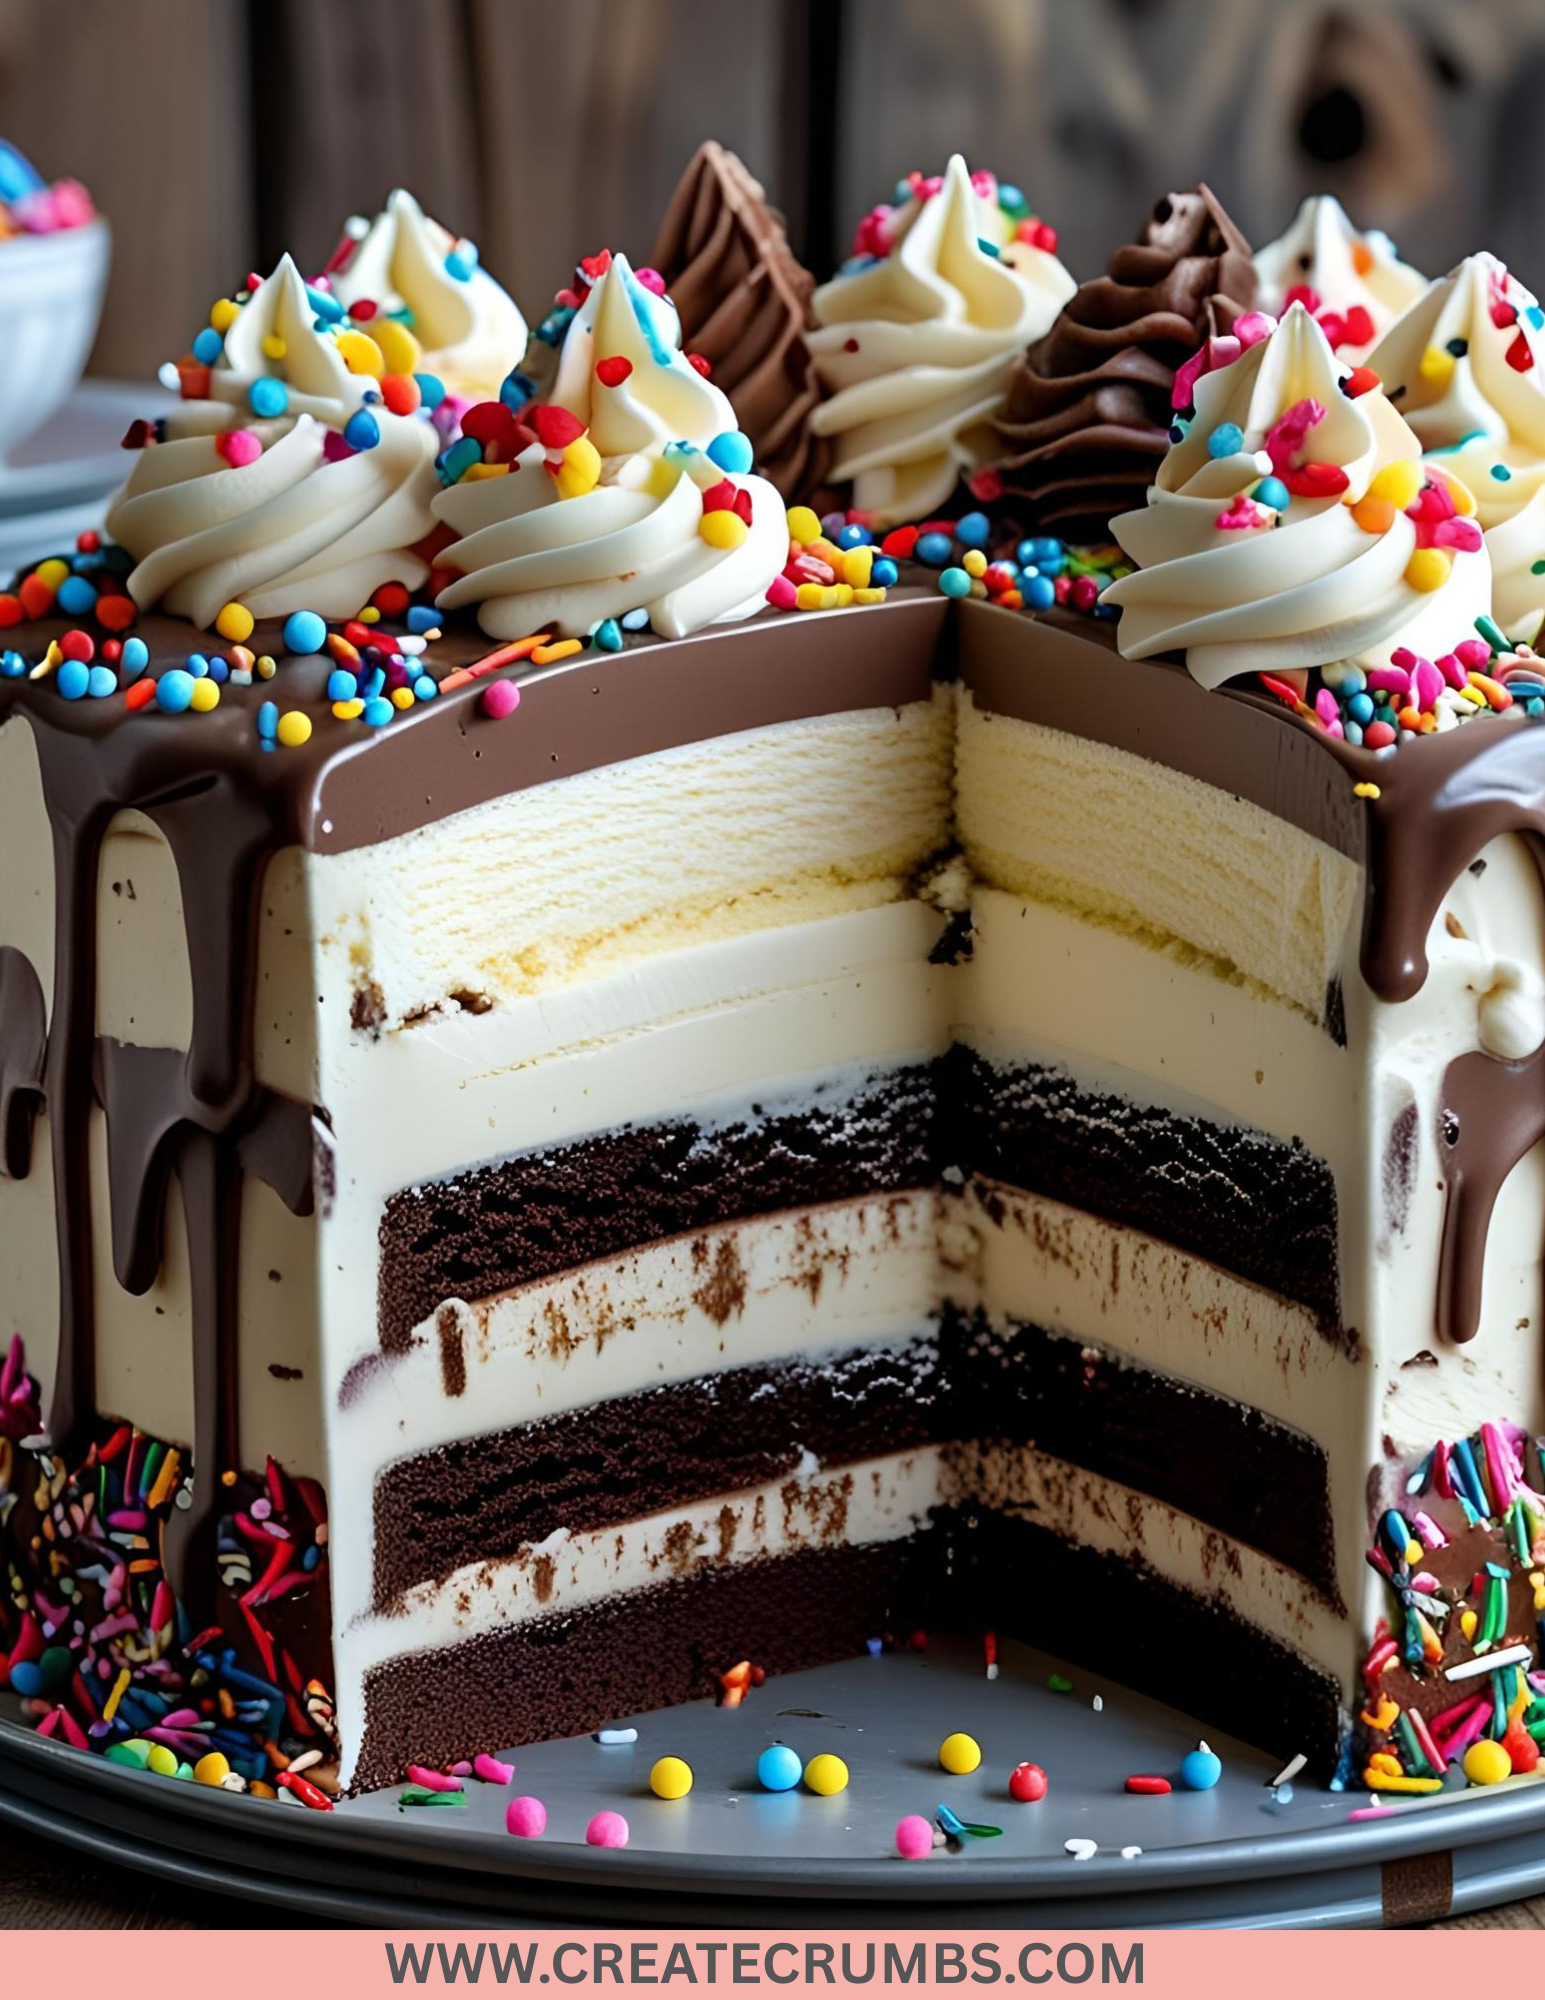
Dairy Queen Ice Cream Cake
Description
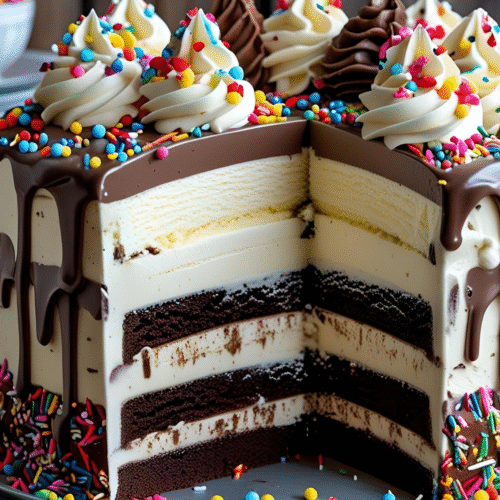
This homemade Dairy Queen style ice cream cake features layers of creamy chocolate and vanilla ice cream, a crunchy chocolate cookie crumble, rich fudge sauce, and fluffy whipped topping. It’s the ultimate frozen dessert for birthdays, celebrations, or just because you’re craving it.
Ingredients
Ice Cream Layers
-
1.5 quarts chocolate ice cream (softened)
-
1.5 quarts vanilla ice cream (softened)
Chocolate Cookie Crunch Layer
-
1 package (about 14 oz) chocolate sandwich cookies (like Oreos)
-
4 tablespoons unsalted butter, melted
Fudge Layer
-
1 jar (11–12 oz) hot fudge sauce (slightly warmed for spreading)
Topping
-
8 oz whipped topping (like Cool Whip), thawed
-
Chocolate syrup (optional, for drizzling)
-
Sprinkles or chocolate shavings (optional, for garnish)
Instructions
-
Prepare the Pan
-
Line a 9-inch springform pan with parchment paper or plastic wrap to make unmolding easier.
-
-
First Ice Cream Layer
-
Spread the softened chocolate ice cream evenly in the bottom of the pan.
-
Place in the freezer for at least 30 minutes to firm up.
-
-
Make the Cookie Crunch
-
Crush cookies into fine crumbs (a food processor works best).
-
Mix with melted butter until combined.
-
-
Add Cookie & Fudge Layers
-
Spread the cookie crumb mixture evenly over the chocolate ice cream.
-
Drizzle and spread hot fudge sauce over the crumbs (work quickly so it doesn’t harden).
-
Freeze again for 30 minutes.
-
-
Second Ice Cream Layer
-
Spread the softened vanilla ice cream over the fudge layer.
-
Smooth the top with a spatula.
-
Freeze for at least 4 hours, or until completely firm.
-
-
Add the Whipped Topping
-
Remove cake from the pan and peel off the parchment or plastic wrap.
-
Frost the entire cake with whipped topping.
-
Decorate with chocolate syrup, sprinkles, or chocolate shavings if desired.
-
-
Final Freeze
-
Freeze for at least 1–2 hours before serving for the best texture.
-
Equipment Needed
-
9-inch springform pan
-
Parchment paper or plastic wrap
-
Mixing bowls
-
Rubber spatula
-
Food processor or rolling pin (for crushing cookies)
-
Spoon or offset spatula (for spreading fudge)
Prep Time: 40 minutes (plus freezing time)
Cook Time: 0 minutes
Total Time: 6–8 hours (including freezing)
Serving Size: 12 servings
Dairy Queen Ice Cream Cake
Equipment
- 9-inch springform pan
- Parchment paper or plastic wrap
- Mixing bowls
- Rubber spatula
- Food processor or rolling pin (for crushing cookies)
- Spoon or offset spatula (for spreading fudge)
Ingredients
- Ice Cream Layers
- 1.5 quarts chocolate ice cream softened
- 1.5 quarts vanilla ice cream softened
- Chocolate Cookie Crunch Layer
- 1 package about 14 oz chocolate sandwich cookies (like Oreos)
- 4 tablespoons unsalted butter melted
- Fudge Layer
- 1 jar 11–12 oz hot fudge sauce (slightly warmed for spreading)
- Topping
- 8 oz whipped topping like Cool Whip, thawed
- Chocolate syrup optional, for drizzling
- Sprinkles or chocolate shavings optional, for garnish
Instructions
- Prepare the Pan
- Line a 9-inch springform pan with parchment paper or plastic wrap to make unmolding easier.
- First Ice Cream Layer
- Spread the softened chocolate ice cream evenly in the bottom of the pan.
- Place in the freezer for at least 30 minutes to firm up.
- Make the Cookie Crunch
- Crush cookies into fine crumbs (a food processor works best).
- Mix with melted butter until combined.
- Add Cookie & Fudge Layers
- Spread the cookie crumb mixture evenly over the chocolate ice cream.
- Drizzle and spread hot fudge sauce over the crumbs (work quickly so it doesn’t harden).
- Freeze again for 30 minutes.
- Second Ice Cream Layer
- Spread the softened vanilla ice cream over the fudge layer.
- Smooth the top with a spatula.
- Freeze for at least 4 hours, or until completely firm.
- Add the Whipped Topping
- Remove cake from the pan and peel off the parchment or plastic wrap.
- Frost the entire cake with whipped topping.
- Decorate with chocolate syrup, sprinkles, or chocolate shavings if desired.
- Final Freeze
- Freeze for at least 1–2 hours before serving for the best texture.
10 Frequently Asked Questions
1. Can I make this ice cream cake without a springform pan?
Yes. You can use a deep cake pan lined with plastic wrap for easy removal, though a springform pan makes it much easier to unmold neatly.
2. How soft should the ice cream be before layering?
It should be soft enough to spread easily but not melted about the consistency of soft serve. This helps create even layers without mixing them together.
3. Can I make the cookie crunch layer ahead of time?
Yes. You can crush the cookies and mix with butter up to 2 days ahead, then store in an airtight container at room temperature until needed.
4. What can I use instead of Oreos?
You can use any crisp chocolate cookie, such as chocolate graham crackers, chocolate wafers, or even gluten-free chocolate cookies.
5. Can I use homemade hot fudge sauce?
Absolutely! Just make sure it’s cooled slightly so it spreads smoothly without melting the ice cream layers.
6. Can I flavor the ice cream layers?
Yes. You can substitute chocolate with coffee ice cream, vanilla with strawberry, or use any flavor combination you love.
7. How far in advance can I make this cake?
You can make it up to 1 week in advance and keep it well-wrapped in the freezer until ready to serve.
8. Can I skip the whipped topping?
Yes, but it adds a classic DQ-style look and flavor. You could also use stabilized whipped cream for a homemade option.
9. How do I slice the cake without it cracking?
Dip a sharp knife in hot water, wipe it dry, and slice. Repeat between each cut for clean slices.
10. Can I make it dairy-free?
Yes. Use dairy-free ice cream, vegan butter for the cookie layer, and coconut whipped topping to make it fully dairy-free.
How To Store Dairy Queen Style Ice Cream Cake
-
Short-Term Storage: Keep the cake in the freezer, covered loosely with plastic wrap or foil, for up to 1 week for the best flavor and texture.
-
Long-Term Storage: Wrap tightly in plastic wrap, then foil, and store in the freezer for up to 1 month.
-
Avoid Freezer Burn: Ensure the cake is well-covered and stored in a freezer-safe container or cake box.
-
After Serving: Return any leftover slices to the freezer immediately to prevent melting and ice crystal formation.