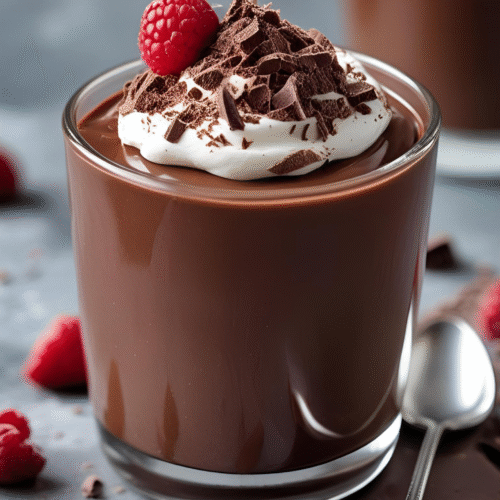
Homemade Chocolate Pudding
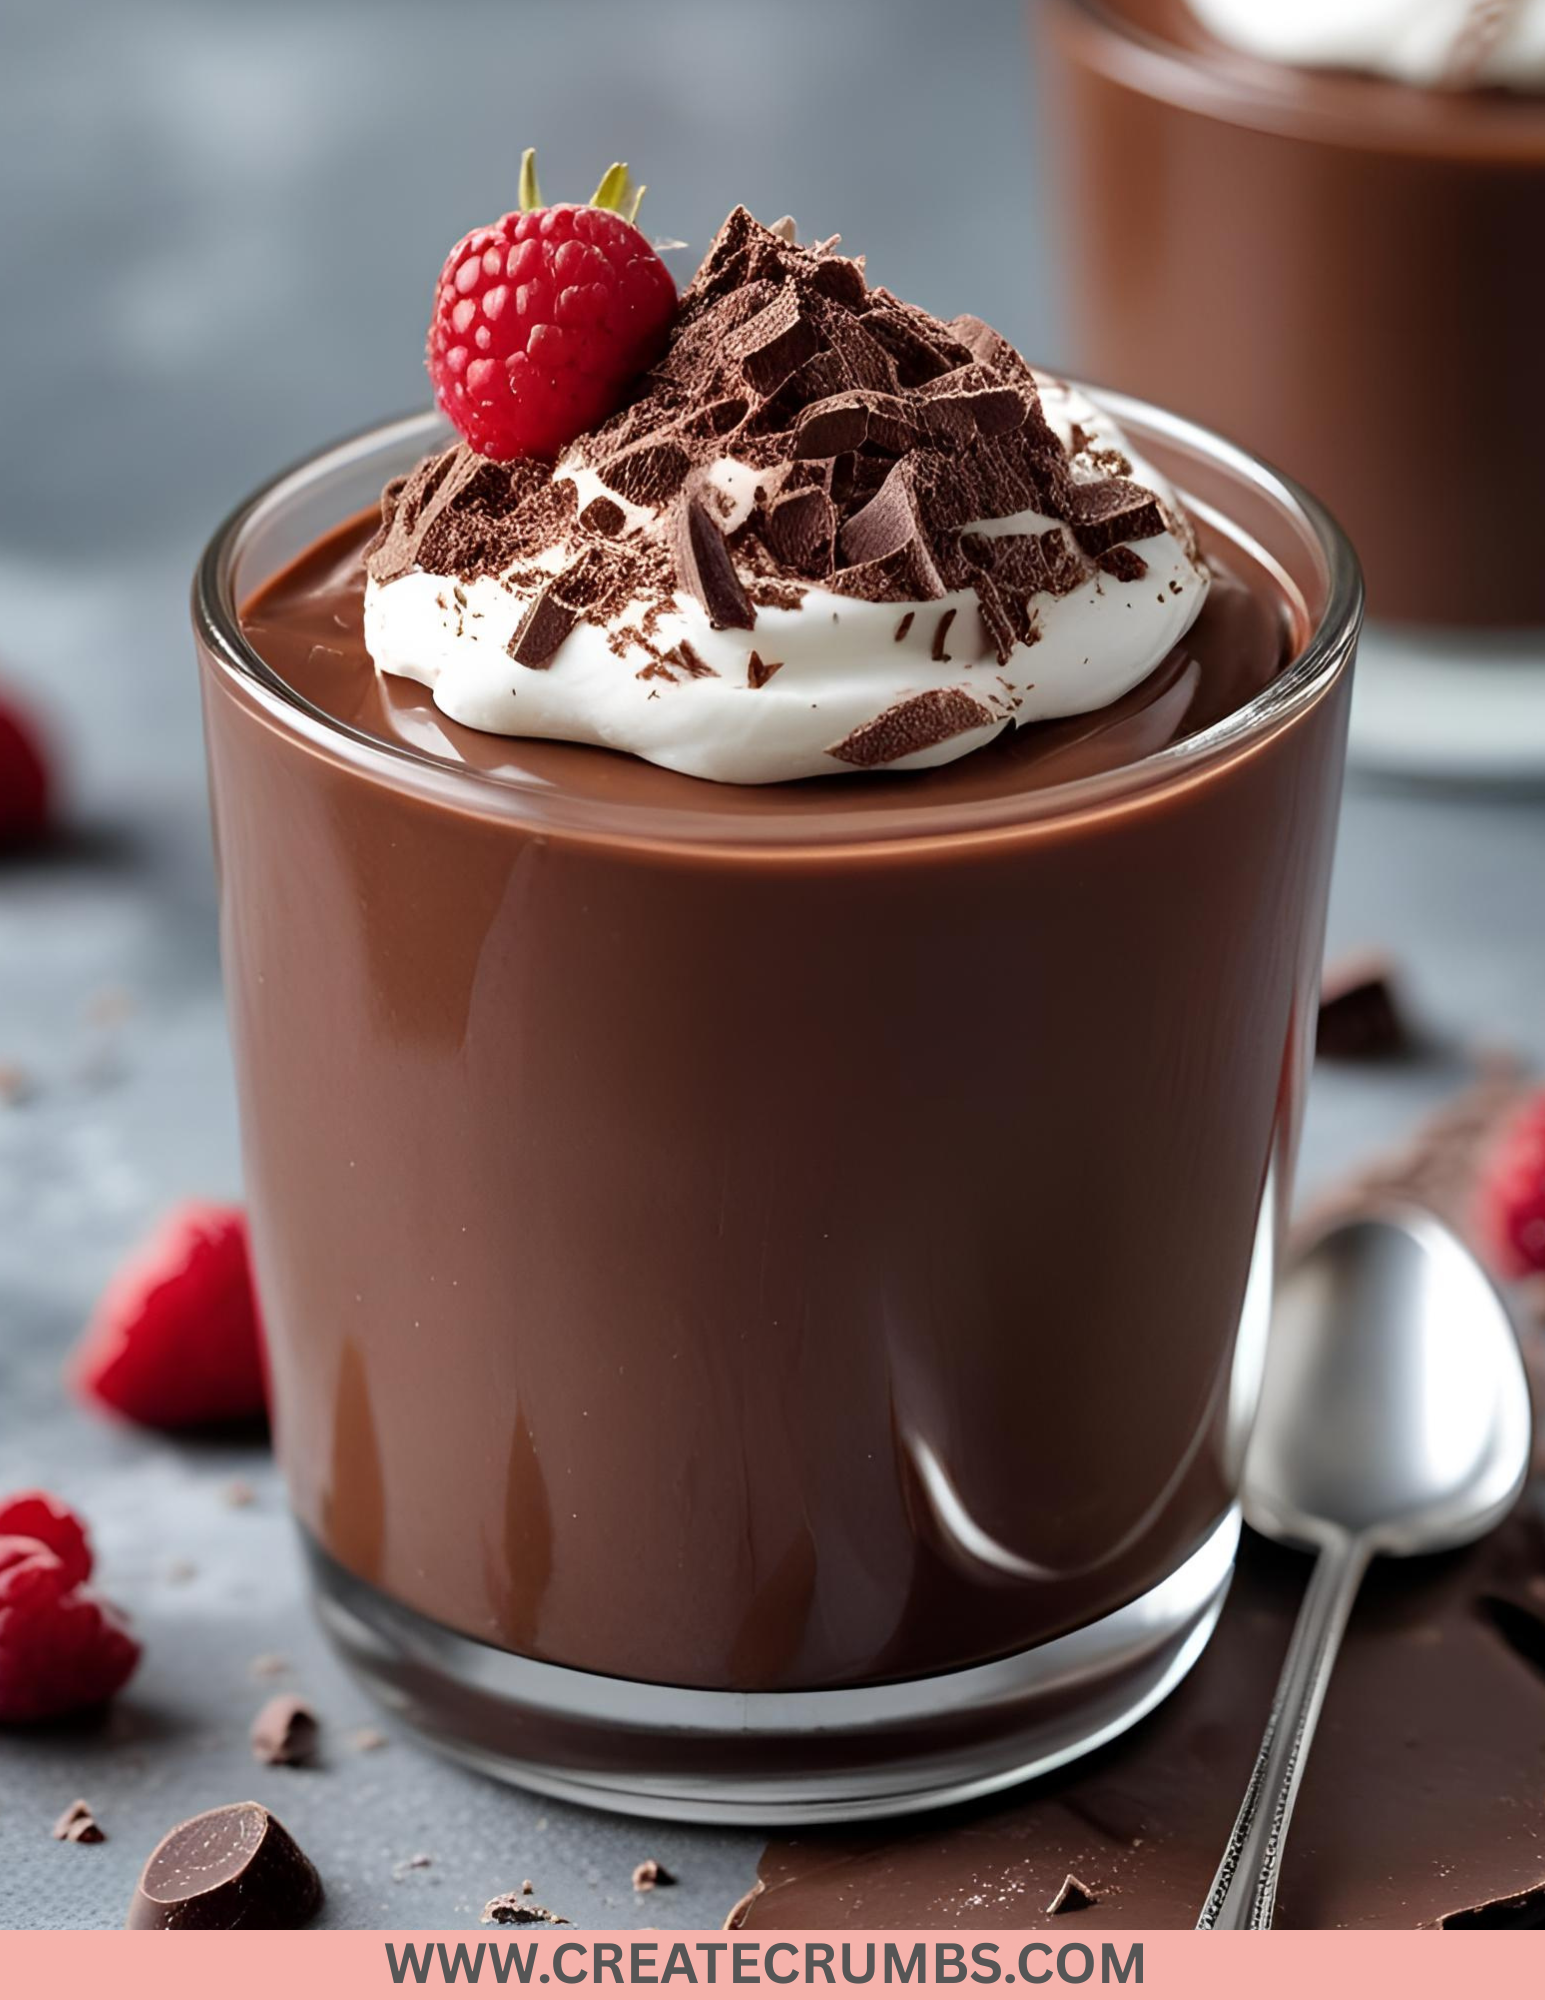
Chocolate Pudding
Description
Rich, creamy, and indulgent, this homemade chocolate pudding is a smooth, luscious dessert perfect for satisfying any chocolate craving. It’s made from scratch with real cocoa powder and milk, giving it an intense chocolate flavor that’s far better than any store-bought mix. Serve it warm for comfort or chilled for a refreshing treat.
Ingredients (Serves 4)
-
2/3 cup (130g) granulated sugar
-
1/4 cup (30g) unsweetened cocoa powder
-
1/4 cup (30g) cornstarch
-
1/8 tsp salt
-
2 3/4 cups (650ml) whole milk
-
2 tbsp (28g) unsalted butter
-
1 tsp pure vanilla extract
Instructions
-
Mix Dry Ingredients
-
In a medium saucepan (off the heat), whisk together sugar, cocoa powder, cornstarch, and salt until evenly combined.
-
-
Add Milk
-
Gradually whisk in the milk a little at a time to prevent lumps.
-
-
Cook
-
Place the saucepan over medium heat, stirring constantly, until the mixture thickens and comes to a boil (about 6–8 minutes). Once boiling, cook for 1–2 minutes more.
-
-
Add Butter & Vanilla
-
Remove from heat. Stir in butter and vanilla until fully melted and smooth.
-
-
Serve
-
Pour pudding into individual bowls or one large serving dish. Serve warm or cover with plastic wrap directly on the surface to prevent a skin from forming, then refrigerate until chilled.
-
Equipment Needed
-
Medium saucepan
-
Whisk
-
Measuring cups and spoons
-
Heat-safe spatula or wooden spoon
-
Serving bowls or ramekins
Prep Time: 5 minutes
Cook Time: 10 minutes
Total Time: 15 minutes
Serving Size: 4 servings
Chocolate Pudding
Equipment
- Medium saucepan
- Whisk
- Measuring cups and spoons
- Heat-safe spatula or wooden spoon
- Serving bowls or ramekins
Ingredients
- 2/3 cup 130g granulated sugar
- 1/4 cup 30g unsweetened cocoa powder
- 1/4 cup 30g cornstarch
- 1/8 tsp salt
- 2 3/4 cups 650ml whole milk
- 2 tbsp 28g unsalted butter
- 1 tsp pure vanilla extract
Instructions
- Mix Dry Ingredients
- In a medium saucepan (off the heat), whisk together sugar, cocoa powder, cornstarch, and salt until evenly combined.
- Add Milk
- Gradually whisk in the milk a little at a time to prevent lumps.
- Cook
- Place the saucepan over medium heat, stirring constantly, until the mixture thickens and comes to a boil (about 6–8 minutes). Once boiling, cook for 1–2 minutes more.
- Add Butter & Vanilla
- Remove from heat. Stir in butter and vanilla until fully melted and smooth.
- Serve
- Pour pudding into individual bowls or one large serving dish. Serve warm or cover with plastic wrap directly on the surface to prevent a skin from forming, then refrigerate until chilled.
10 Frequently Asked Questions
1. Can I use almond or oat milk instead of whole milk?
Yes, but the pudding may be slightly less creamy and may need a little extra cooking time to thicken.
2. Can I use dark cocoa powder for a richer flavor?
Absolutely! Dark or Dutch-processed cocoa will make the pudding deeper in flavor and darker in color.
3. Can I make this pudding without cornstarch?
Yes, you can substitute arrowroot powder or tapioca starch in equal amounts, but the texture may be slightly different.
4. How do I prevent lumps in my pudding?
Whisk the dry ingredients first, then slowly add the milk while whisking continuously before turning on the heat.
5. Can I make this recipe vegan?
Yes use plant-based milk and replace butter with vegan butter or coconut oil.
6. How do I prevent a skin from forming on top?
Place plastic wrap directly on the surface of the pudding while it cools.
7. Can I double this recipe?
Yes, just use a larger saucepan and stir constantly to ensure even cooking.
8. How long should I cook the pudding?
Once it starts boiling, cook for 1–2 more minutes to fully activate the cornstarch and thicken properly.
9. Can I make chocolate pudding ahead of time?
Yes, it’s actually better after chilling for at least 2 hours so the flavors deepen.
10. Can I serve it warm?
Yes, some people prefer warm pudding for comfort. Just skip the chilling step.
How To Store Chocolate Pudding
-
Refrigerator:
Store pudding in an airtight container or covered with plastic wrap pressed directly onto the surface. It will keep for 3–4 days in the fridge. -
Freezer:
Not recommended freezing changes the texture and can cause separation. -
Make-Ahead Tip:
You can prepare it up to 2 days in advance and chill until ready to serve. Give it a quick stir before serving for best texture.