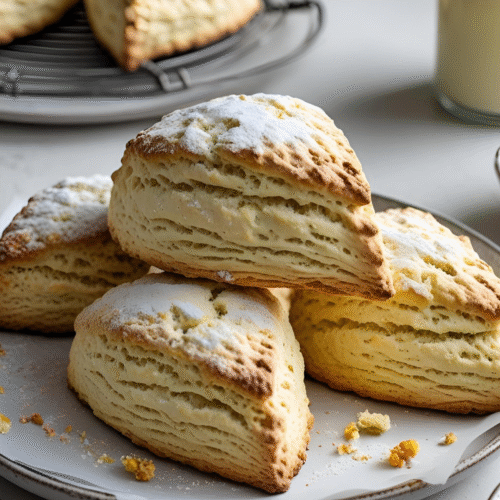
Classic Buttermilk Scones
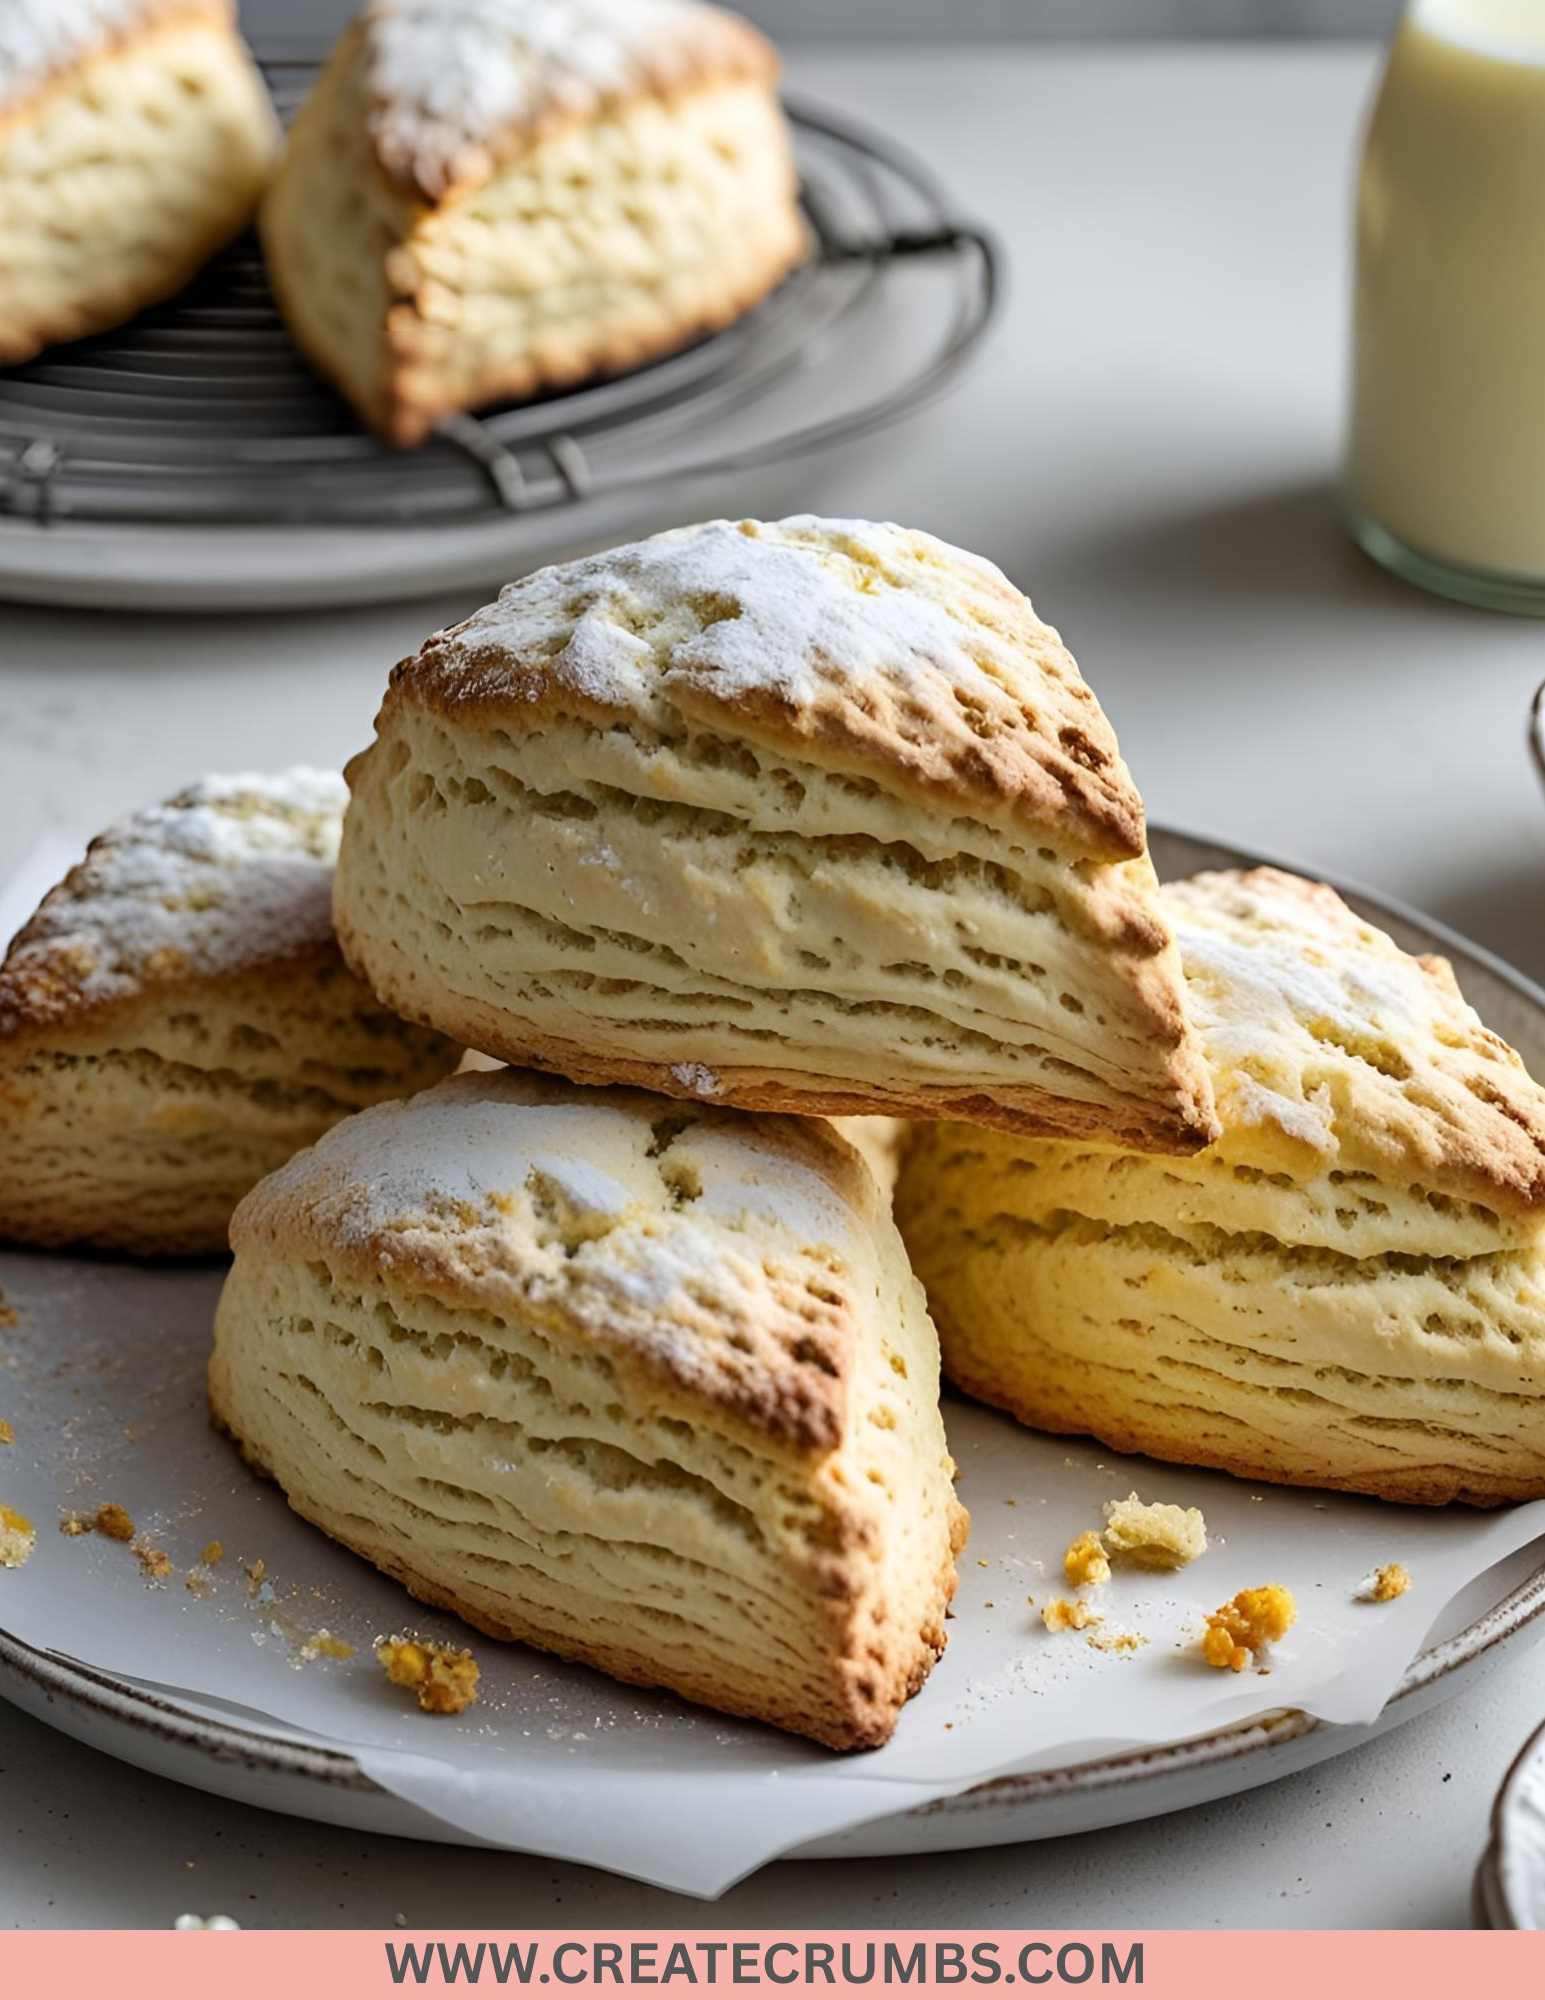
Classic Buttermilk Scones
Fluffy, tender, and slightly sweet, these classic buttermilk scones are perfect for breakfast, brunch, or tea time. They have a delicate crumb and a subtle tang from the buttermilk, making them ideal with jam, butter, or clotted cream.
Ingredients
Dry Ingredients:
-
2 cups (250 g) all-purpose flour
-
1/4 cup (50 g) granulated sugar
-
1 tbsp baking powder
-
1/2 tsp baking soda
-
1/2 tsp salt
Wet Ingredients:
-
6 tbsp (85 g) unsalted butter, cold and cubed
-
3/4 cup (180 ml) buttermilk
-
1 tsp vanilla extract
-
1 large egg (optional, for egg wash)
Optional Add-ins:
-
1/2 cup raisins, currants, or dried cranberries
-
Zest of 1 lemon or orange
Instructions
-
Preheat Oven:
Preheat oven to 425°F (220°C). Line a baking sheet with parchment paper. -
Mix Dry Ingredients:
In a large bowl, whisk together flour, sugar, baking powder, baking soda, and salt. -
Cut in Butter:
Using a pastry cutter or fingers, cut cold butter into dry ingredients until the mixture resembles coarse crumbs. -
Add Wet Ingredients:
Stir in buttermilk and vanilla until just combined. Do not overmix. Fold in optional add-ins if using. -
Shape Scones:
Turn dough onto a lightly floured surface. Pat into a 1-inch thick circle. Cut into 8 wedges (or use a biscuit cutter for rounds). -
Optional Egg Wash:
Beat the egg with 1 tbsp water and brush lightly over scones for a golden finish. -
Bake:
Place scones on prepared baking sheet and bake for 12–15 minutes, until golden brown and a toothpick comes out clean. -
Serve:
Cool slightly on a wire rack. Serve warm with butter, jam, or clotted cream.
Equipment
-
Large mixing bowl
-
Whisk
-
Pastry cutter or fingers
-
Measuring cups and spoons
-
Baking sheet
-
Parchment paper
-
Knife or biscuit cutter
-
Wire cooling rack
Timing
-
Prep Time: 15 minutes
-
Cook Time: 12–15 minutes
-
Total Time: 27–30 minutes
Serving Size
Serves 8
Classic Buttermilk Scones
Equipment
- Large mixing bowl
- Whisk
- Pastry cutter or fingers
- Measuring cups and spoons
- Baking sheet
- Parchment paper
- Knife or biscuit cutter
- Wire cooling rack
Ingredients
- Dry Ingredients:
- 2 cups 250 g all-purpose flour
- 1/4 cup 50 g granulated sugar
- 1 tbsp baking powder
- 1/2 tsp baking soda
- 1/2 tsp salt
- Wet Ingredients:
- 6 tbsp 85 g unsalted butter, cold and cubed
- 3/4 cup 180 ml buttermilk
- 1 tsp vanilla extract
- 1 large egg optional, for egg wash
- Optional Add-ins:
- 1/2 cup raisins currants, or dried cranberries
- Zest of 1 lemon or orange
Instructions
- Preheat Oven:
- Preheat oven to 425°F (220°C). Line a baking sheet with parchment paper.
- Mix Dry Ingredients:
- In a large bowl, whisk together flour, sugar, baking powder, baking soda, and salt.
- Cut in Butter:
- Using a pastry cutter or fingers, cut cold butter into dry ingredients until the mixture resembles coarse crumbs.
- Add Wet Ingredients:
- Stir in buttermilk and vanilla until just combined. Do not overmix. Fold in optional add-ins if using.
- Shape Scones:
- Turn dough onto a lightly floured surface. Pat into a 1-inch thick circle. Cut into 8 wedges (or use a biscuit cutter for rounds).
- Optional Egg Wash:
- Beat the egg with 1 tbsp water and brush lightly over scones for a golden finish.
- Bake:
- Place scones on prepared baking sheet and bake for 12–15 minutes, until golden brown and a toothpick comes out clean.
- Serve:
- Cool slightly on a wire rack. Serve warm with butter, jam, or clotted cream.
Frequently Asked Questions (FAQs)
Can I make scones ahead of time?
Yes. You can prepare the dough, shape the scones, and refrigerate for up to 24 hours before baking.
Can I freeze scones?
Yes. Freeze unbaked scones in a single layer on a tray, then transfer to a freezer bag. Bake directly from frozen, adding a few extra minutes to the baking time.
Can I use milk instead of buttermilk?
Buttermilk gives scones a tender texture and slight tang. If using milk, add 1 tsp lemon juice or vinegar per 3/4 cup milk and let sit 5 minutes to mimic buttermilk.
Can I make scones without butter?
Butter is essential for flavor and flakiness, but you can substitute cold margarine or coconut oil, though texture and taste may vary.
How do I make scones more tender?
Do not overmix the dough. Cold butter and gentle handling keep scones light and flaky.
Can I add flavors or mix-ins?
Yes. Common additions include raisins, currants, dried cranberries, chocolate chips, or citrus zest.
Should I brush scones with egg wash?
Egg wash is optional. It gives a golden, glossy finish, but scones bake well without it.
How thick should I shape the dough?
Pat the dough to about 1-inch thickness for even baking. Thicker scones will need slightly more baking time.
Can I make scones gluten-free?
Yes. Use a 1:1 gluten-free flour blend and follow the same method. Texture may be slightly different.
Do scones need to cool before serving?
Scones are best served warm but can cool slightly on a wire rack. They can also be reheated briefly in the oven or microwave.
How To Store Classic Buttermilk Scones
Room Temperature:
-
Store in an airtight container for up to 2 days. Keep away from moisture to prevent sogginess.
Refrigerator:
-
Refrigerate in an airtight container for up to 4 days. Reheat before serving to restore freshness.
Freezer:
-
Freeze unbaked scones individually on a tray, then transfer to a freezer bag for up to 2 months. Bake from frozen, adding 2–3 minutes to the baking time.
-
Baked scones can also be frozen. Wrap tightly in plastic wrap and place in a freezer bag for up to 2 months. Reheat in the oven before serving.